How do you cut fabric with a silhouette? A lot of people are intimidated by the idea, but it’s really not difficult. In this article, I will walk you through how to use your silhouette cutter and some tips for cutting fabric successfully. You’ll be surprised at what an easy process it is!
Here’s how to cut fabric with Silhouette Cameo.

Here’s what you need:
- 2 Pre-fold Cloth Diapers
- Fabric Scraps
- Fusible Web such as Heat’n Bond Lite
- Spray Starch
- Silhouette Cameo 4 or Silhouette Portrait 3
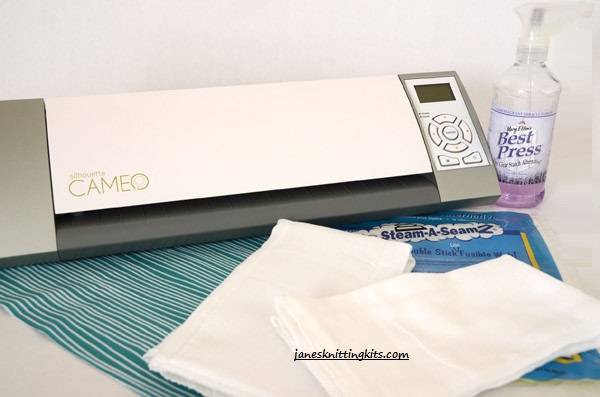
I start by ironing the pre-fold diapers and then setting them aside. I prefer the heavier pre-folds (I think they come 5 in a package at Target or Walmart). However, I am using both a thicker pre-fold diaper and a gauzy pre-fold diaper for this tutorial.
Step 1: Prepare the Design
When you purchase a Silhouette, it comes with design software* that works with the machine. There is an upgraded version of the software that costs about $50 {but it was a free upgrade when I bought my Silhouette}. Both versions will work for this application.
Once the software is open, it is easy to create this design. I will be using a combination of lettering and a design I purchased {for $.99} from the SilhouetteOnline store. The online store is what really sold me on the Silhouette. There are many designs that all cost $.99, and there is usually a sale every month or so with the designs being $.50-$.75.
*Note: You can download the software for free, which allows you to purchase designs from the Silhouette Store and hand-cut them.
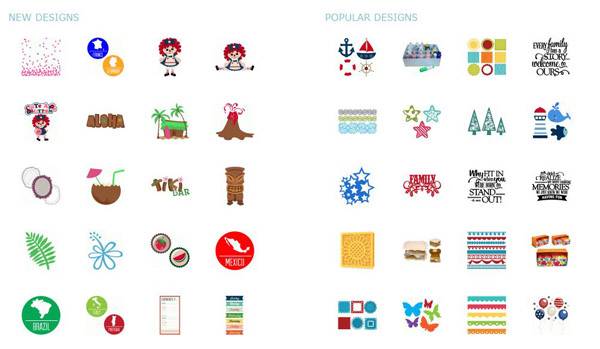
I am using the font Fat Free which I tweaked. The whale is from the Silhouette store. He needed a little editing, but this took all of 5 minutes.

Step 2: Prepare the Fabric
Cut a piece of fabric that is 12″ x 12″. Make sure that it is free of wispy threads. Spray the fabric with spray starch and then press with a steam iron.

Cut a piece of fusible web that is 11 3/4″ x 11 3/4″. Fuse the web to the back of the fabric scrap according to the manufacturer’s instructions. Once it has cooled, peel away the paper backing. {If you are like me and get fusible web on your iron, use a little Hot Iron Cleaner to get the goo off.}

Place the fabric right side up on the Silhouette mat. There is a little more to this than just slappin’ it down on the mat. The fabric must be well-adhered to the mat. If your mat is full of lint or paper bits, then the cut may not go so well. If the mat has started to lose some of its stickiness, then spray an adhesive spray like KK2000 to the back of the fabric/fusible web before placing it on the mat.

Load the mat into the machine.

Step 3: Cutting out the Design
The Silhouette offers two types of blades: one for paper and one for fabric. The blades are identical, except the fabric blade is blue. This is only to distinguish blades because once you’ve cut fabric with a blade it doesn’t work so well on paper and vice versa. It is best to have two separate blades.
Be sure to change the blade to the fabric cutting blade {the blue one}.
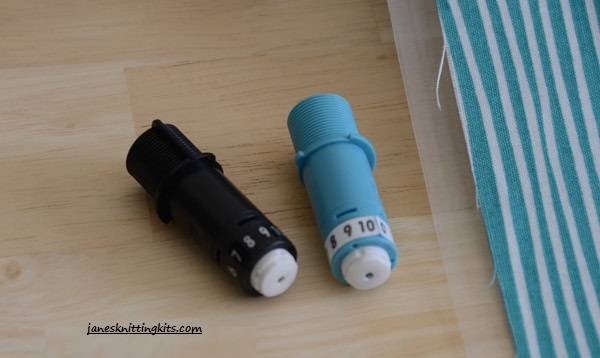
Back in the software, it is time to set the Silhouette. First, I choose my Cut setting, which is Fabric Cotton Print. When I select this setting, the software sets the thickness of the cut. To get great fabric cuts, I’ve found that I like to set my blade at 4.

It is now time to send the design to the Silhouette to cut.

All that’s left to do is iron the design onto a burp cloth and topstitch around the design. A basic sewing machine is enough to do this topstitch.
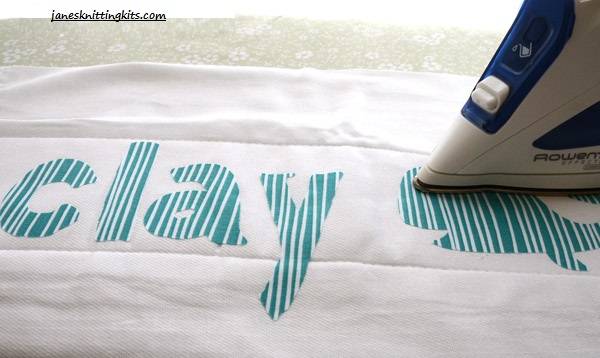
This is where creativity begins. I really like to cut out my letters and designs in different fabrics. It makes the burp cloth a whole lot cuter.
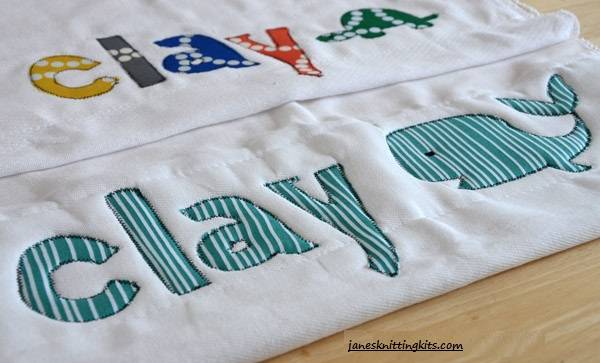
This also works well on onesies, t-shirts, pillows, blankets, quilts, and anything you can dream up.
FAQs related to cutting fabric with a silhouette:
1) What Fabric Should I Use?
The best fabric to use for a silhouette project is any fabric that you usually wash and wear. Do not attempt to use anything that needs special care, like lace or wool. You can even use upholstery fabrics! The key is to make sure you don’t stretch your fabric out of shape by pulling too tightly while sewing and that the fabric will hold up after washing.
I use the pre-folds that I receive when I buy cloth diapers at Target or Walmart. These are stiff enough to hold their shape and still wash well, and they cost less than $1 each.
2) What Does Heat’n Bond Do?
Heat’n bond is an iron-on fusible web that you use to hold fabrics together. You can cut it with your Silhouette and then iron it on top of the paper backing to give the pieces strength while cutting. It’s important to remember that using this product will create a small white outline around the pieces you cut with your Silhouette.
3) Can I Use Fusible Web on The Fabrics That Came With My Silhouette Kit?
Yes, but don’t cover the entire piece of material with fusible web. Instead, just use it to hold together parts of the fabric that you will be cutting through. Remember, the purpose of using the fusible web is to give increased strength to your pieces while cutting them with a Silhouette. In other words, if you are taking something like a basic triangle shape and making it into two smaller triangles, the fusible web must go between those pieces!
4) How Do I Cut Through Dense Materials Like Denim or Leather?
Use standard scissors, and then run your fabric through the Silhouette mat as if you were cutting it. I’ve used my Silhouette to cut all kinds of dense materials from fabric, craft foam, and leather. The machine will do the hard work of cutting it down to a manageable size! It’s important not to stretch or pull on your material while feeding it in because it can give “holes” from stretching later on.
5) What Happens If My Silhouette Breaks While Cutting?
First, unplug the machine and double-check that it is not simply jammed. Suppose you are using thick material (anything thicker than upholstery fabric). In that case, it is important to make sure that your mat is inserted correctly into the cutter so that the blade has clearance! If this doesn’t fix the problem, you will have to send your Silhouette in for repair.
6) Can I Use This For My Regular Household Cloths?
Absolutely! Many people, including myself, love to use their Silhouette to cut up old clothes that might otherwise be thrown away. We’ve even used the Silhouette to cut through upholstery fabric to recover couches and chairs! Since the machine is so precise, you will get clean, straight cuts that are easy to use!
7) Can I Use This For Sewing Projects?
Yes! If you’ve got a sewing machine, simply sew along the edges of your silhouette cuts for the closest thing to custom fabric. Or, if you prefer, purchase any scrap fabrics in bulk at places like Joann Fabrics and use your Silhouette to cut the fabric for you.
Read more: Best sewing Machine for Intermediate Sewers
Conclusion:
I hope this article has helped you understand how to use your silhouette cutter and some tips for cutting fabric successfully. If you have any questions, feel free to send an email or leave a comment on the blog post below! Happy Cutting 🙂


